Headlight not working? Chances are a burned-out bulb is the culprit. Changing the headlight bulbs – and many other bulbs – on your car or truck can be a simple and straightforward task.
We’ll walk you through changing out almost any light bulb in your vehicle. Please read these instructions through before you begin and refer to your owner’s manual for instructions for your specific vehicle.
This information is only for vehicles with an internal combustion engine. We do not recommend changing bulbs on EVs on your own.
- Difficulty: Easy
- Duration: 5-10 minutes
- How often: When lights dim or burn out
Replacing the headlight bulb
Headlight bulbs come in a few types. However, because the majority of gas-powered vehicles manufactured from the 1980s up until the last few years use a replaceable halogen bulb system, we’ll start there.
Make sure you’re replacing the correct bulb. If you have a two-light system, the high beam is the one closer to the centre of your vehicle and the low beam is the one on the outside.
- Refer to your owner’s manual or a reliable online video to find out how to access your lights.
- Remove any covers or removeable accessories to free up as much space as you can so you can easily reach the bulb.
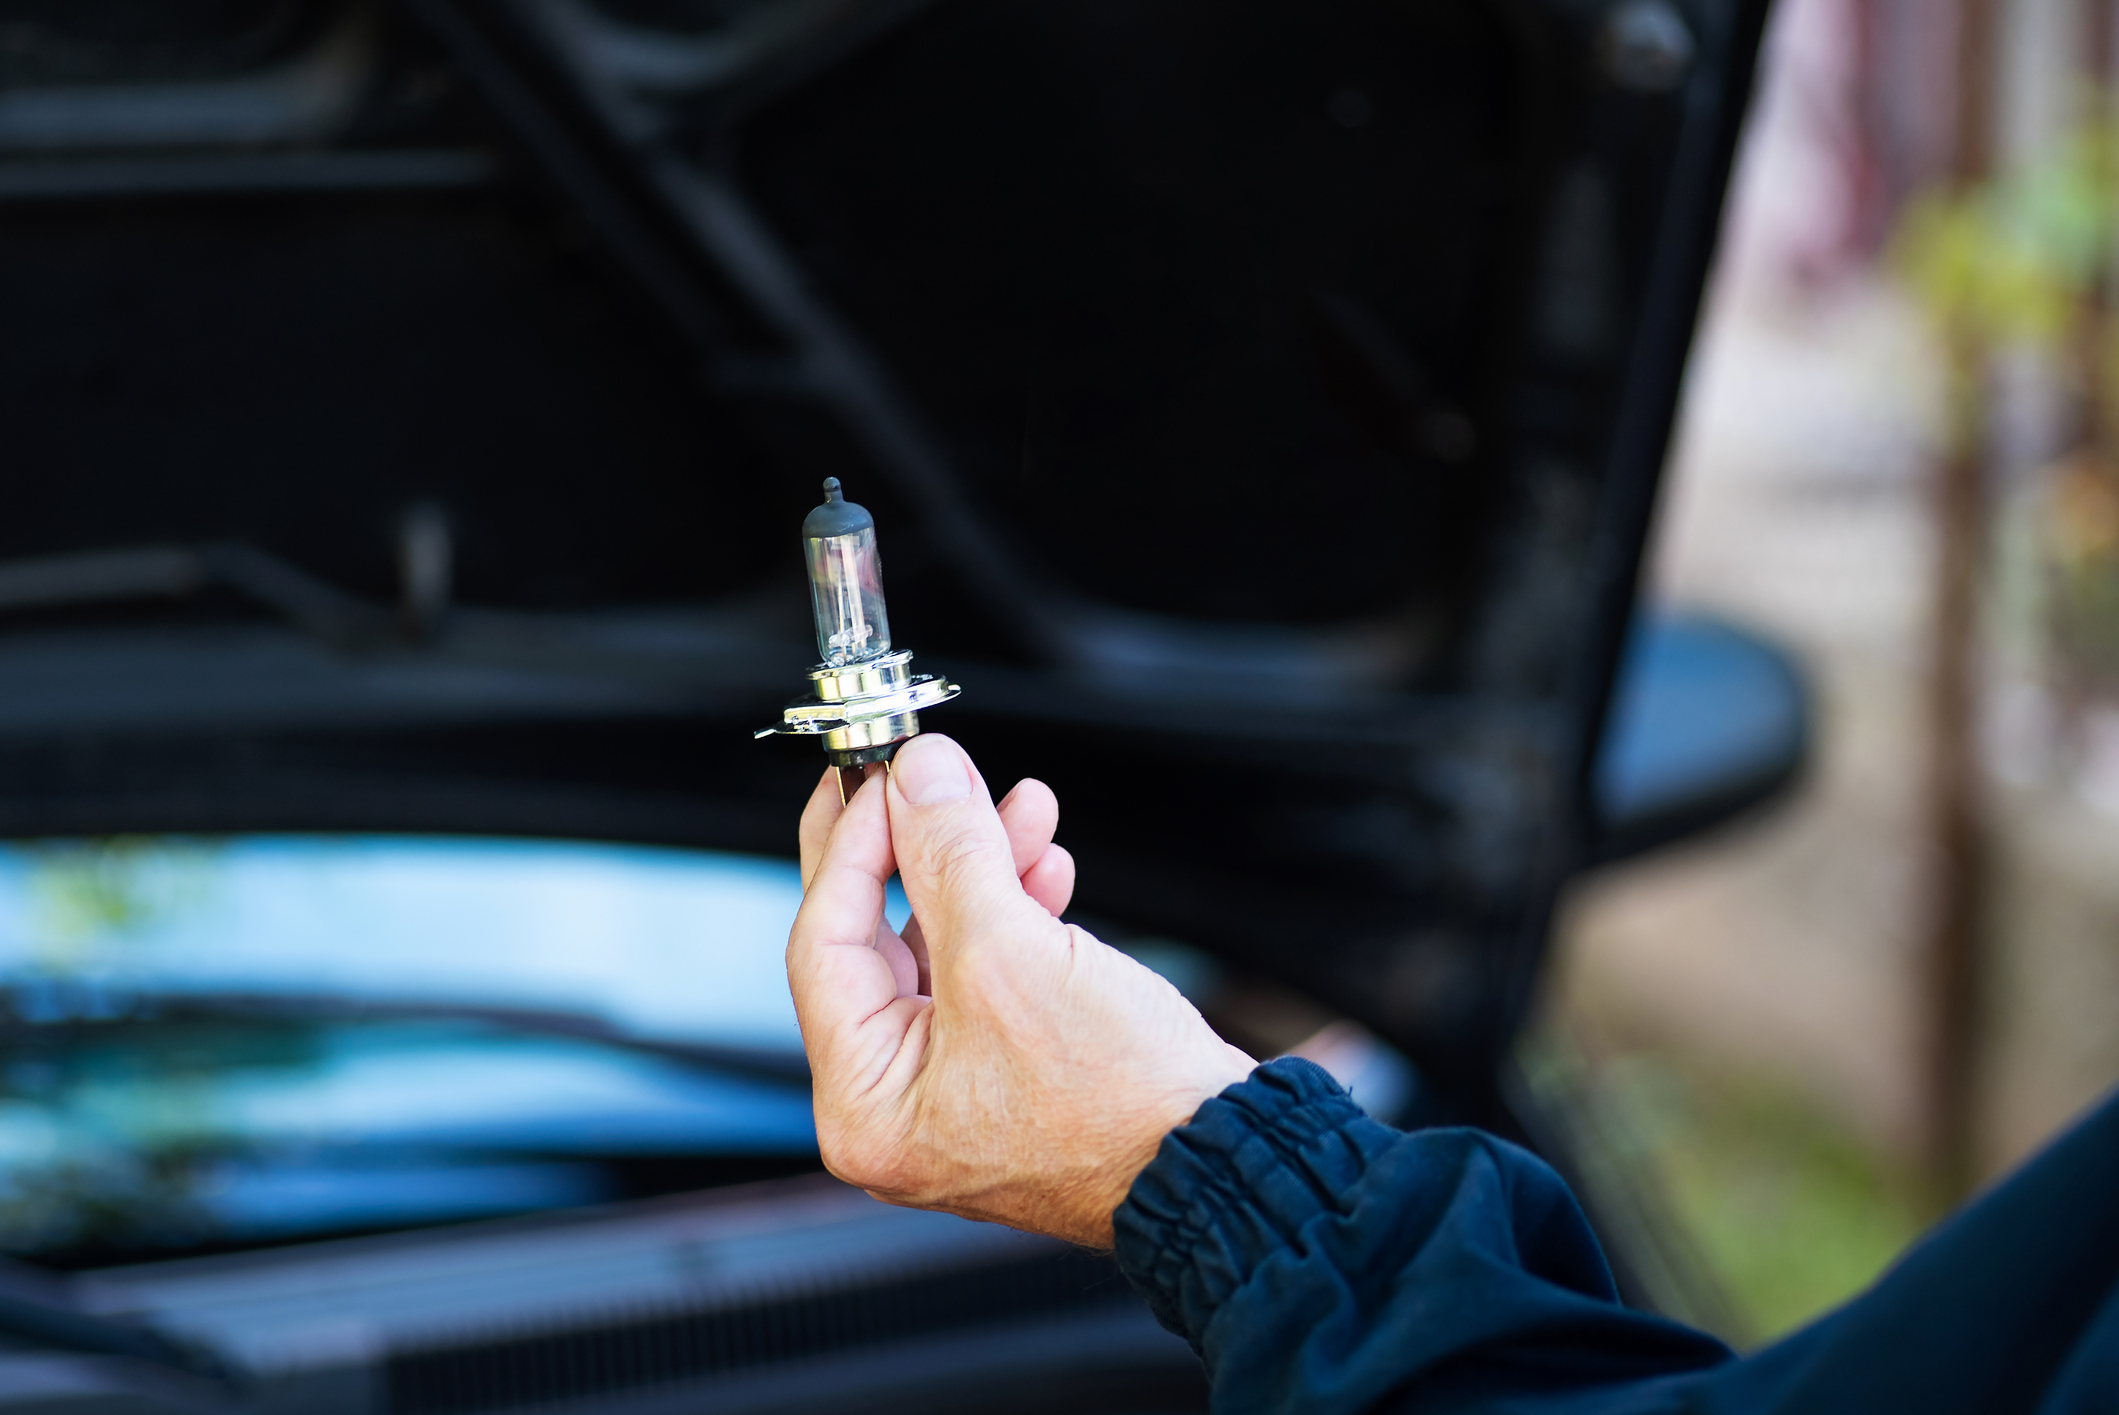
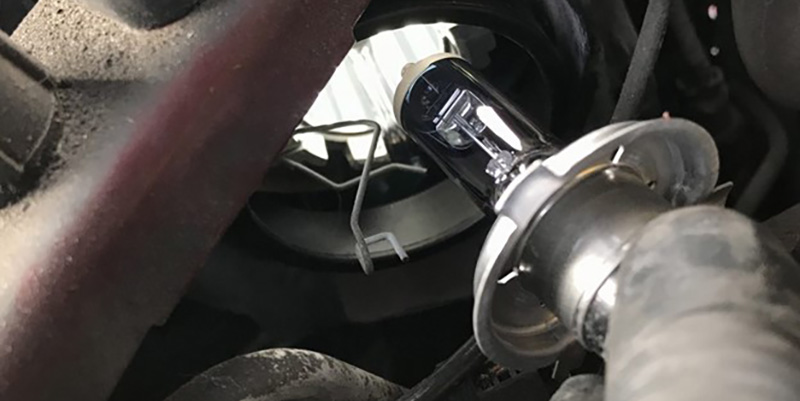
- Gently remove the electrical connector from the back of the bulb. Press the clip on the connector to pop it out and unscrew the retaining ring if there is one. Be careful not to knock the glass or the bulb could break.
- Line up the new bulb in the socket (you might need to rotate it slightly) and push it in until the plastic mounting flange on the bulb touches the back of the socket. Then turn the bulb about a quarter turn until it locks into place.
- If you have a retaining ring, reinstall it and reattach the electrical connector to the back of the ring.
Do not touch the glass of a fresh bulb with your bare fingers (or dirty gloves). Touching the glass leaves behind oils that can cause the bulb to break or fail right away. Wear clean gloves and touch only the plastic base.
Replacing high-intensity discharge lamps
More modern cars and trucks use high-intensity discharge (HID) lamps. They’re also called xenon bulbs, since they tend to be made with xenon gas. Your NAPA Auto Parts professional can help you find the right one.
With HID lights, you should replace both sides at the same time. Headlight bulbs lose brightness over time and replacing one means that the other will provide less visibility. Plus, the other bulb will probably burn out not long after anyway.
Most HID bulbs can be replaced following the same instructions as halogen headlights. However, be sure to follow all manufacturer’s service warnings, and adhere to procedure. HIDs have a high-voltage igniter and can cause injury if mishandled.
Replacing LED headlight bulbs
LED lights have a completely different design from halogen and HID ones. In an LED light, electrons pass through a semiconductor material and light up a collection of tiny bulbs. Because they don’t have a single, larger bulb like halogens and HIDs, you’ll need to replace the entire headlight.
Replacing a mini bulb, brake light, or turn signal bulb
Your vehicle uses miniature bulbs in everything from the instrument panel and glove compartment to the turn signals and brake lights. They come in a variety of shapes, sizes, and styles. Three of the most common bulb styles are shown here:
- single contact bayonet (a)
- double contact bayonet (b)
- wedge base (c)
First steps
Follow these steps before you begin:
- Switch off the circuit before replacing any bulb. Otherwise, you risk electrocution.
- Protect your hand with a rag or glove when removing the bulb. The glass might break and injure you.
- Wear clean gloves when touching the new bulb. The oils in your hands, as mentioned above, can damage the bulb.
Instructions for each bulb type
Single or double contact bayonet bulbs
To remove a single or double contact bayonet bulb from its socket, push it in slightly and turn counterclockwise. If the bulb does break, use a pair of small pliers to remove the base from the socket.
To insert a new single contact bayonet bulb, place the base of the bulb in the socket. Make sure the index lug on the base is lined up with the slot in the socket. Then push it in slightly and turn clockwise.
To insert a new double contact bayonet bulb, place the base of the bulb in the socket. Make sure to line up both index lugs on the base with the slots in the socket. If the lugs are staggered, make sure the short lug is lined up with the short slot and the long lug with the long slot. Then, push in slightly and turn clockwise.
Wedge base bulb
To remove a wedge base bulb from its socket, simply pull the bulb straight out of the socket. To insert a new one, gently push the base straight into the socket.
Selecting replacement bulbs for your vehicle