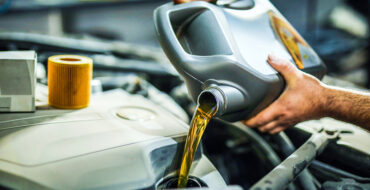
Putting on new wiper blades, installing a new engine air filter or replacing a headlight bulb may seem like novice DIY auto repairs, but they’re really great ways to start learning how to take care of your car. Once you graduate from these simple tasks, it’s time to get your hands dirty and change the engine’s oil, your vehicle’s most vital fluid.
Five DIY Engine Oil Change Tips from the Pros
Before you start, check out this video featuring our very own Chris Robinson, who explains how to shop for oil change equipment like ramps, filter wrenches, and safety gear.

With the right equipment and supplies, an oil change is a safe, simple, and clean process to do. Once you’ve stocked up on the proper gear, read on for tips to help you change your oil without getting into trouble.
The Perfect Engine Oil Change
You may be asking yourself, “What kind of trouble?” In fact, a poorly executed oil change can destroy your engine! Here are five time-tested tips to help your oil change go smoothly, whether it’s your first or fiftieth time.
- Keep your engine clean – A sloppy oil change can cause other problems, like slipping drive belts or premature oxygen sensor failure. Use a drain pan for draining and a funnel for refilling. Scott Rags in a Box are great for cleaning drips and spills.
- Replace the drain plug gasket – While some vehicles have gaskets integrated into the drain plug, most gaskets should be replaced every time the plug is removed. This is especially true of steel crush gaskets, because once crushed, they cannot be reused. Reusing drain plug gaskets can lead to major problems.
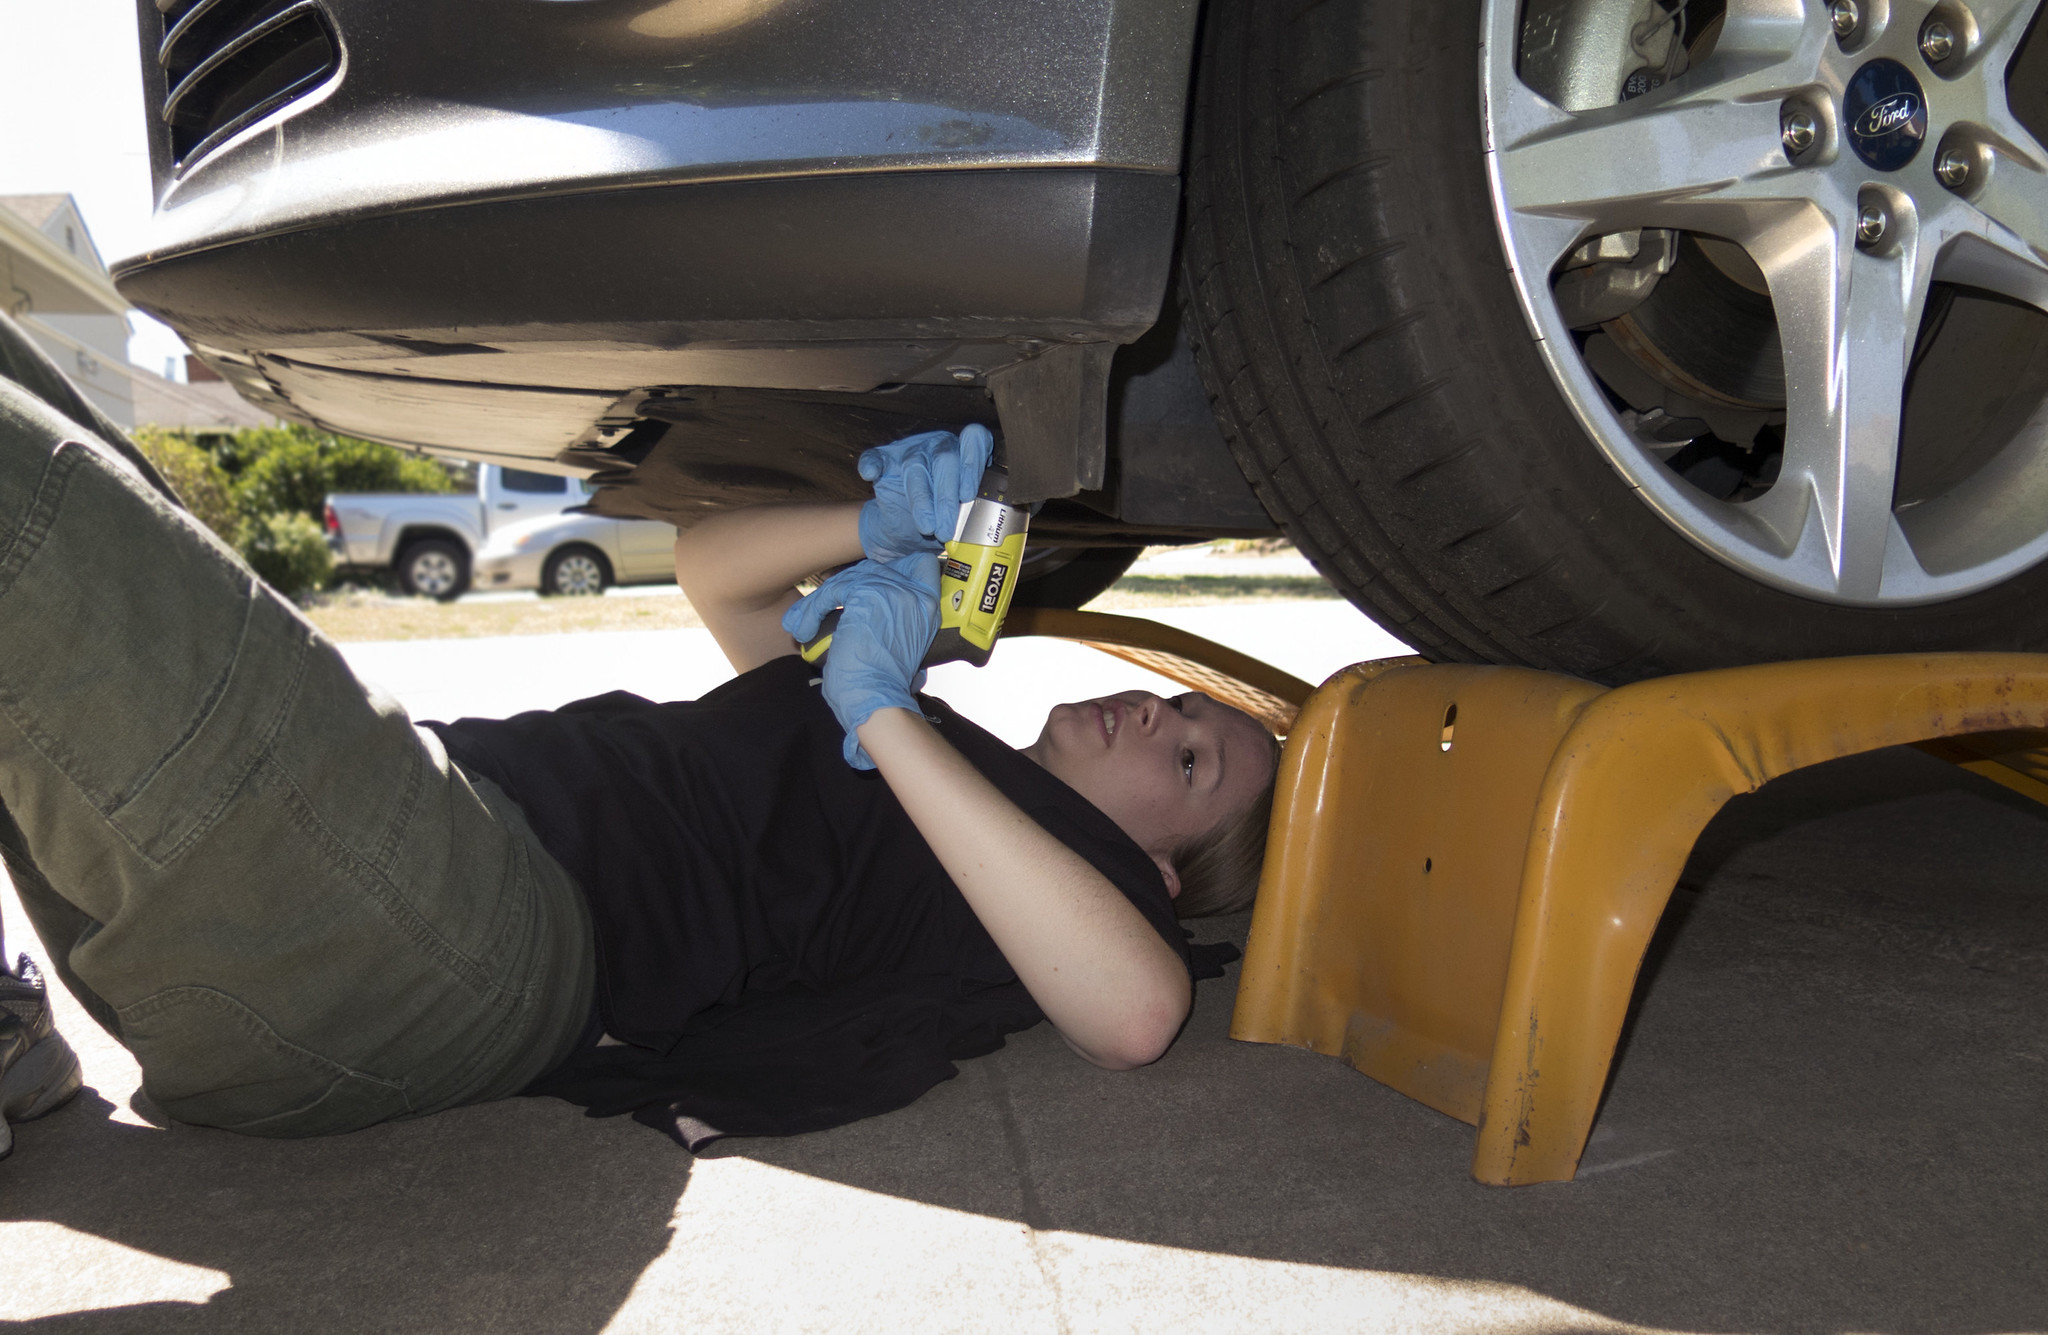
- Check for oil leaks – After refilling the crankcase and cleaning up, run the engine for a few minutes. Look under the engine for oil leaks, specifically around the drain plug and oil filter. Even a single drip could indicate a problem, like a loose drain plug.
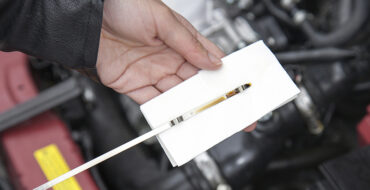
- Check the oil level on your dipstick – Park your vehicle on a flat surface and shut off the engine. To check the oil level, pull out the dipstick, wipe it clean with a rag, and put it back, making sure it’s fully seated. Pull the dipstick out again and note the oil line. Check your owner’s manual to compare markings. If necessary, add oil to reach the full mark or safe zone.

- Check the oil level sensor – No dipstick? No problem! On some vehicles, the oil level is checked by a sensor in the crankcase. Before driving your vehicle, double-check the oil level reading on the dash to make sure you’ve added the correct amount. Check the owner’s manual for instructions specific to your vehicle.
While an oil change may seem simple, being rushed or inattentive is a sure path to catastrophic engine failure, or at least a messy driveway. Always double-check your work when you change your engine oil and consult with an expert if needed. Here’s a bonus tip: Check your oil every month or 1,000 km, or according to your oil change interval, and top off if necessary.
Check out all the hand tools available on napacanada.com or trust one of our 600 NAPA AUTOPRO shops for your vehicle routine maintenance and repair. And for more engine oil change tips, chat with an expert from your local NAPA Auto Parts store.
By Benjamin Jerew