Did you know that replacing your own windshield wiper blades is actually quite easy? Depending on the type of wipers you have, it often takes just a few snaps. After all, how annoying is it when a damaged blade constantly leaves behind a streak as it passes over your windshield? Follow this guide to learn how to complete a windshield wiper replacement in under 10 minutes.
How to Install Replacement Windshield Wipers

- Difficulty: Easy
- Duration: 5-10 minutes
- How often: Every year
Selecting Wiper Blades
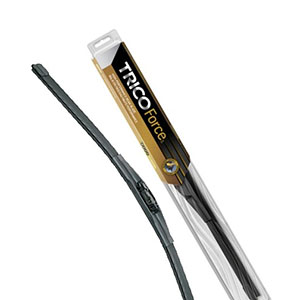
Before you put new blades on your car, you need to make sure you get the right ones. Wiper blades vary in material, size, and style.
Choose blades based on the size of your car and the typical weather for the upcoming season. Check out this guide on how to pick the right windshield wiper blades and windshield washer fluid. You can find a wide range of wiper blades, including Bosch and Trico models, by visiting www.NAPACanada.com or any NAPA Auto Parts store.

When to Change Your Blades
Most windshield wiper blades only last six to twelve months, but many people forget to change them before they deteriorate. To maximize your visibility, change your wiper blades at least once every six months. It’s especially important to replace them when there’s a change of seasons. If you live in Ontario, for example, change your blades in the fall (before the first snow) and again in the spring.
You may also need to replace your blades if you notice any damage. If your blades are leaving a lot of streaks or making excessive noise, start by cleaning your windshield and the blades. If this doesn’t fix the problem, try adjusting the blades. Replace them as a last resort.
How to Change Your Wiper Blades
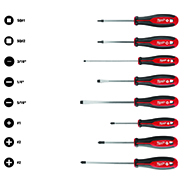
Before you can start DIYing your blade replacement, you’ll need to gather the following items:

Once you have everything you need, follow these steps to install your new blades:
- If possible, lift the wiper arms off the windshield and extend them toward the front of the vehicle. If you can’t, position the blades vertically on the windshield instead by turning the wipers on and turning off the ignition once the blades reach the vertical position.
- Place the microfibre cloth between the blades and the windshield to protect the glass from scratches.
- Most wiper blades don’t require any tools to be removed. Simply press on the release tabs to slide the blade from the wiper arm. This tab will be located where the blade meets the
- If the retaining mechanism is stuck, use the small screwdriver to loosen it.
- On older vehicles, you may need to loosen or remove a tab or screw before you can take the blade off.
- Read the instructions for the new wiper blades before fitting them on the wiper arms.
- Once the blades have been replaced, lower the wipers back down to the windshield and remove the cloth.
- Activate the wipers to make sure they’re attached properly.
If you have any questions about replacing your wiper blades, visit your local NAPA Auto Parts store to speak with an expert.
More Visibility Tips
Aside from replacing your windshield wiper blades every six months, follow these tips to improve your visibility when driving.
It’s especially difficult to maintain a clear view in the winter. Snow, sleet, and ice can cover your windshield, obscuring your view and putting your safety at risk. For specific tips on improving your visibility in the winter, check out this article.