Brakes are one of the most important safety features in your vehicle. They need to be in prime condition to keep you, your passenger, and everyone on the road safe. Like any other car part, brakes wear over time and need regular maintenance. But how do brakes work? How can you identify if your brakes need repair? What can you do to make them last longer? Let’s “brake” it down, especially if you’re a driver who likes to handle repairs yourself.
What is Involved in a Brake Repair?
How do Brakes Work?
Pressing the brake pedal engages your car’s braking system. Brake fluid then transmits pressure from the pedal to the calipers, which squeeze the brake pads against the brake rotors (also known as brake discs). This friction slows the wheels and brings the vehicle to a stop.
Brake pads are at the heart of your braking system. Over time, the constant use will wear them down and reduce effectiveness, which is why routine inspections and timely repairs or replacements are essential to braking performance.
Braking Components
Understanding the braking system helps you tackle repairs more confidently. Here are the key components involved:
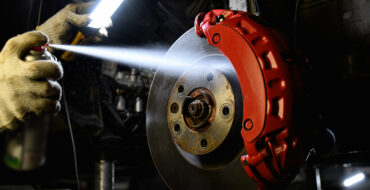
- Brake pads create friction to slow the car down. They need regular replacement.
- Rotors (brake discs) spin with your wheels and take the force of the pads. Rotors may need resurfacing or replacement over time.
- Calipers hold the brake pads and push them against the rotors during braking.
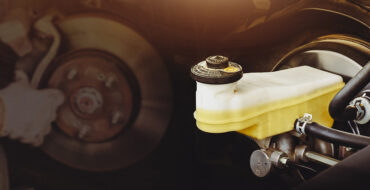
- Brake fluid transfers the pressure from the pedal to the calipers. It should be changed every couple of years.
- Brake lines and hoses carry the brake fluid through the system. These should be leak free and air free for proper functioning.
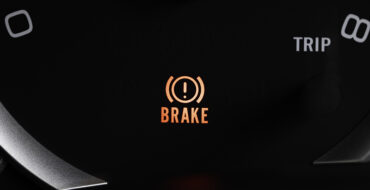
Signs your Brakes Need Repair
How do you know when you should book a brake repair? Look out for these common signs:
- Squealing or grinding noises: Worn brake pads sometimes emit a high-pitched squealing noise. Brake pads have a built-in wear indicator that signals needed replacement. Ignoring the squealing sound leads to metal-on-metal contact from pads that have completely worn down and are actively damaging the rotors.
- Vibrating pedal or steering wheel: Unusual vibrations during braking might indicate warped brake rotors affecting your vehicle’s handling.
- Spongy brake pedal: A soft, sinking brake pedal could mean a brake fluid issue. Leaks in the hydraulic system, air in the brake lines, or low fluid levels could all be the culprit.
- Pulling to one side: If your vehicle pulls to one side during braking, it could mean that your brake pads are experiencing uneven wear, or that a brake caliper is sticking.
- Burning smell: A strong burning smell while braking could suggest overheating. This is common after aggressive driving or descending steep hills. Overheated brakes can lead to reduced stopping power.
What’s Involved in a Brake Repair
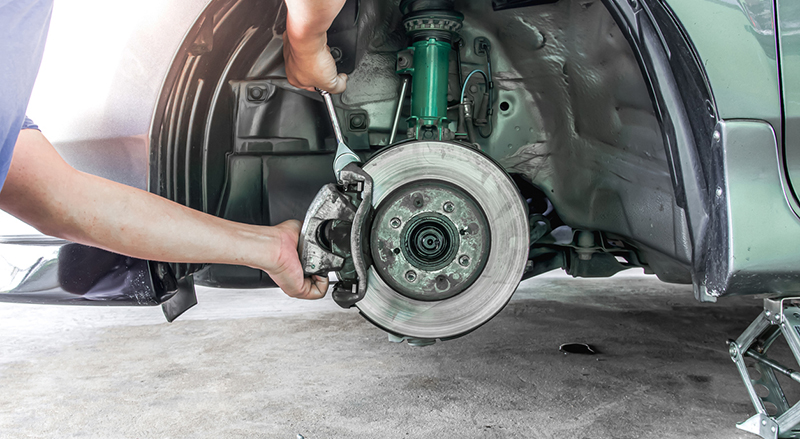
With confidence and the right gear, replacing brake pads (and even rotors) can be a DIY-friendly job. Here’s a step-by-step guide.
Tools and Supplies
Step-by-Step Process:
Step one: Park your vehicle on a flat surface (not your driveway) and engage the parking brake. Slightly loosen the lug nuts on the wheel using the lug wrench and jack up the car (securing it with jack stands). Remove the wheel.
Step two: Locate the brake caliper (usually held in place by two bolts on the back of the caliper mounting bracket). Use a socket wrench to remove these bolts (typically 13mm-17mm). Remove the caliper delicately and support it to avoid letting it dangle on the brake hose.
Step three: Remove the old brake pads from the caliper bracket by hand and note the placement of any retaining clips, since they’ll need to be reinstalled the same way.
Step four (optional rotor replacement): Remove the caliper bracket with your socket wrench. Slide the old rotor off and secure the new rotor in its place.
Step five: Use a c-clamp to slowly compress the piston back into the caliper. To keep pressure even and prevent damage to the piston, you can place the old brake pad between the piston and the clamp. This creates a flat, protective surface that distributes the force more evenly as you compress. Apply a thin layer of brake grease to the back of the new pads and any contact points to reduce noise, then slide the new brake pads into place inside the caliper bracket.
Step six: Reattach the caliper over the new pads and use your torque wrench to tighten the caliper bolts to your vehicle manufacturer’s specifications.
Step seven: Reinstall the wheel and tighten the lug nuts by hand. Lower the car with a floor jack and tighten the lug nuts with the lug wrench, following a star pattern to ensure even distribution.
Step eight: Test the brakes by pumping the pedal before driving until it feels firm. Check for any leaks, loose components, or strange noises before taking a short, slow test drive.
If you’re unsure at any point, our NAPA Auto Store technicians are always happy to share advice on regular car maintenance and repairs.