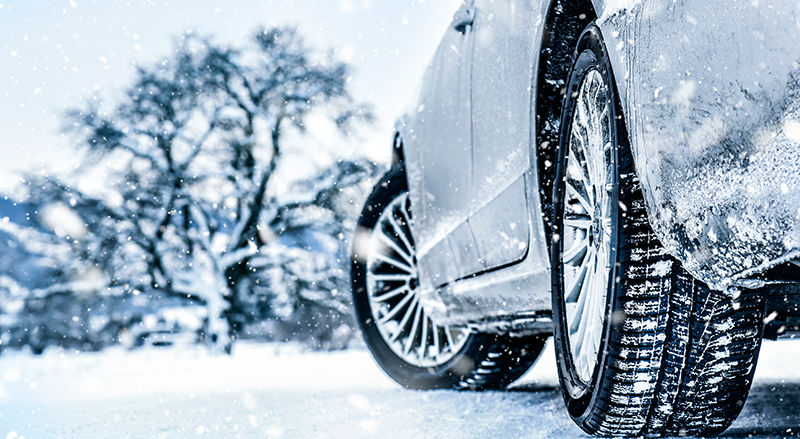
For drivers living in most of Canada, installing winter tires on your vehicle is, first and foremost, a matter of safety. Winter tires can be the difference between skidding through an intersection and coming to a controlled stop in an emergency, and that makes them one of the most important safety features on your vehicle.
Using winter tires isn’t free, though. The extra set of tires will help pay for themselves by letting your summer tires last longer, but that’s not the only cost involved. Seasonal tire changes, and paying a shop to swap your tires in spring and fall, can add up in a hurry. Doing it yourself can save you cash, up to a couple of hundred dollars a year. Changing your own winter tires also means you aren’t scrambling to get an appointment on the same days as everyone else.
Safety Considerations
Whenever you do it yourself, you need to think about safety and your body. Lifting the vehicle is one thing, but modern wheel and tire combinations can be heavy. Your wheel and tire could easily weigh well over 30 kg. Make sure you can lift it before your vehicle is in the air.
Tools Before You Start
If you’re lifting your vehicle, it should always be done on a flat and level surface. Lifting your vehicle on a hill can cause it to roll down the hill. Uneven surfaces can make your jack and jack stands twist and bind, leading to your vehicle falling off or even jack failure. If the ground is soft, the jack will sink in.
As far as tools are concerned, you’ll need some basics. A ½-inch drive breaker bar for leverage, matching sockets, a ratchet, a jack, and stands. You can use an electric (or pneumatic) impact gun as well. If you have wheel locks, you’ll need to find the key. When you’re done, you’ll need a torque wrench to tighten the lugs properly. Mechanic’s gloves are great too, especially if the temperatures are still cool.

Evercraft - 2-Ton Hydraulic Trolley Jack And Stands Combo
101.99 $
Buy Now
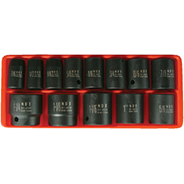
ULTRAPRO 13-Pc. Regular Impact Socket Set 12 Point 1/2 In. Drive - Metric
80.99 $ 37.99 $
Buy Now
HOW TO SAFELY CHANGE YOUR TIRES AT HOME
Set up your work area before getting started to make the whole job easier. Have your tires sorted by side: Many winter tires are directional, so look for an arrow. Position the jack, stands, and other tools near the vehicle. Check your tire tread depth (winter tires should be replaced when they reach 4 mm of tread depth) and air pressures. The tires have likely lost some air in storage. The tire pressures for your vehicle are on a sticker, usually in the driver door jamb.
While the vehicle is still firmly on the ground, loosen the wheel lugs slightly using a breaker bar and the appropriate socket. If you try this in the air, the tire could spin or the vehicle could shift. Before lifting the vehicle, make sure it’s in gear or park, and that the emergency brake is on. This will lock the wheels, preventing the vehicle from rolling. Chock at least two tires to make sure it doesn’t roll.
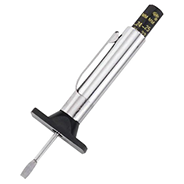
NAPA Tire Tread Depth Gauge
13.09 $
Shop Now
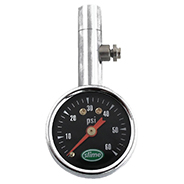
Slime 24031 5-60 PSI Dial Tire Pressure Gauge
14.09 $
Shop Now

Check your owner’s manual under jacking points to find out where to position your jack. Look beneath the vehicle for the jacking point (typically located just behind the front wheel). Be mindful not to use the bodywork (skirt or rocker), as it will buckle under the vehicle’s weight. For most vehicles, the front jacking point will lift both the front and rear wheels sufficiently off the ground. Once the vehicle is up, position a stand near the jack. The rear lift point is a great place if you have both tires in the air.
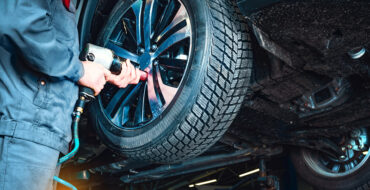
At this point, you can unscrew the lug nuts (with an impact gun or ratchet) and pull off the wheel. It’s best to remove only one wheel at a time. Take this opportunity to quickly inspect the condition of the brakes. If there’s surface rust on the drum or disc (the part the wheel sits against), a few strokes of a steel brush will clean it right up.
Now it’s time to install the wheels. Align the wheel with the studs or holes and manually thread one lug or bolt until it’s snug. This will keep the wheel flat against the brake component and maintain perfect alignment. Next, thread the other lugs/bolts.

Ideally, lugs/bolts should be tightened manually with a ratchet. While many people prefer to use an impact gun, slamming down the nuts or bolts that way can result in damaged studs or serious difficulties loosening the lugs/bolts in the event of a flat.
Once they’re tightened, you can remove the jack stand and lower your vehicle. Once it is fully on the ground, tighten all the lugs with a torque wrench in a star pattern. You can look up the torque specification online or check a service manual.
Repeat the process for the other side, or the other tires on your vehicle. Now you’re ready to store the tires that came off (check their tread depth and wear before you put them away). Once you’ve driven about 100 km, retorque the wheels to make sure nothing has come loose.