Did you know that the air inside your vehicle can be up to six times more polluted than the air outside? This is why the job of the cabin air filter is so important!
Thankfully, almost every vehicle made after the year 2000 contains a cabin air filter. Its job is to filter the air in the vehicle to make it more breathable. Many people, however, aren’t even aware that these filters exist. This means that replacing the cabin air filter often gets skipped during maintenance, affecting its efficiency.
Fortunately, replacing your cabin air filter is a quick and easy job! By following the steps in this article, even those with no mechanical experience can complete this task in 10 minutes.
- Difficulty: Easy
- Duration: 10 minutes
- How often: 12 to 24 months
WHY REPLACE YOUR CABIN AIR FILTER?
A cabin air filter is different from an engine air filter, which keeps debris out of the engine. The cabin air filter traps between 50% and 90% of particles larger than 0.3 micrometres. This helps keep the air inside your vehicle free of dust, mould, pollen, and other fine particles. This is how it maintains the air quality in your vehicle’s cabin.
If you don’t replace your cabin air filter, environmental contaminants can sneak through the filter and cause serious health problems, especially in the lungs. Getting a replacement cabin air filter ensures the air the vehicle’s occupants breathe is clean and safe.
Dirty or clogged filters also prevent your vehicle’s cooling and heating systems from working at their best. This is why replacing cabin air filters is so important.
HOW OFTEN SHOULD YOU CHANGE THE CABIN AIR FILTER?
Knowing when to clean or replace your cabin air filter will help maintain the air quality inside your vehicle. Manufacturers recommend replacing the filter every 20,000 to 30,000 kilometres, depending on routine driving conditions. In other words, change it once a year at a minimum.
If you consistently drive in areas with high pollution or a lot of dirt roads, how often you should change the cabin air filter in your vehicle increases. Filthy road conditions cause the air filter to work harder and get dirty faster. Placing more stress on the filter means you should have more replacement cabin air filters on hand to protect the air quality.
WHERE TO FIND YOUR CABIN AIR FILTER
Before you can get started on changing your cabin air filter, you’ll need to locate it in your vehicle.
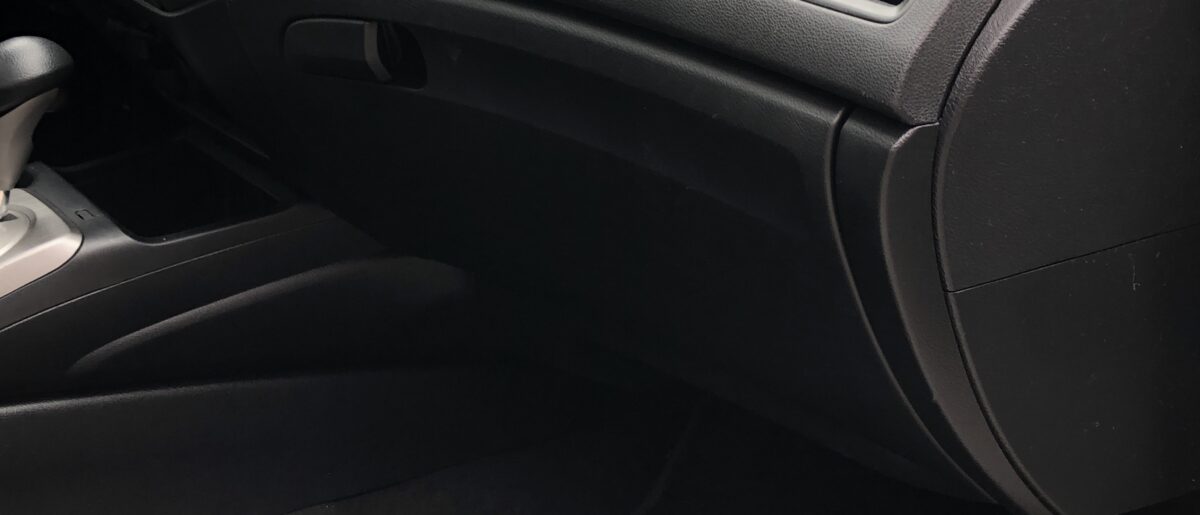
Most cabin air filters are under the glove box on the passenger side. Some, however, may be under the hood, right behind the firewall.
Some car models can have two different cabin filters in different compartments of the car. If your vehicle does have two cabin air filters, it will be noted in the owner’s manual. With two filters, follow the instructions for both filters.
If you’re unsure where to look, check the owner’s manual. Our instructions in this article are for cars with one cabin air filter.
HOW TO REPLACE YOUR CABIN AIR FILTER
Now that you’ve located the cabin air filter, it’s time to get started.
Preparation
Before beginning any sort of maintenance on a vehicle, even something as low risk as replacing the cabin air filter, remember that safety comes first! Make sure to read all the steps before you begin.
In our step-by-step guide, we used a Honda Civic with the cabin air filter accessible through the glove box. This is the most common place for the cabin air filter, so the steps should remain relatively the same no matter the car model. Always refer to your owner’s manual for the most accurate instructions for your vehicle.
Also make sure you have the correct cabin air filter replacement by looking on NAPACanada.com for your vehicle’s year, make, and model.
Step 1: Empty the glove box
If your cabin air filter is located under the glove box, like most are, start by clearing out your glove box.
If your cabin air filter is not located under the glove box, ensure the space around it is clear enough for you to access the filter.
Step 2: Disassemble the glove box
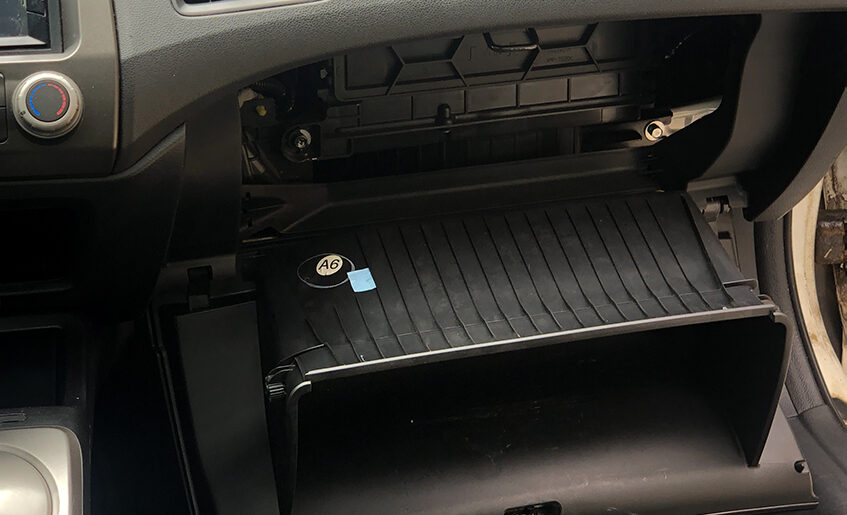
Once your glove box is empty, release the two plastic pins on both sides that hold the glove box. This will give you access to the cabin filter housing.
Next, depress the two clips on both sides of the filter housing and simply remove the cover (which opens like a door). You’ll see the cabin air filter.
Step 3: Remove the old cabin air filter
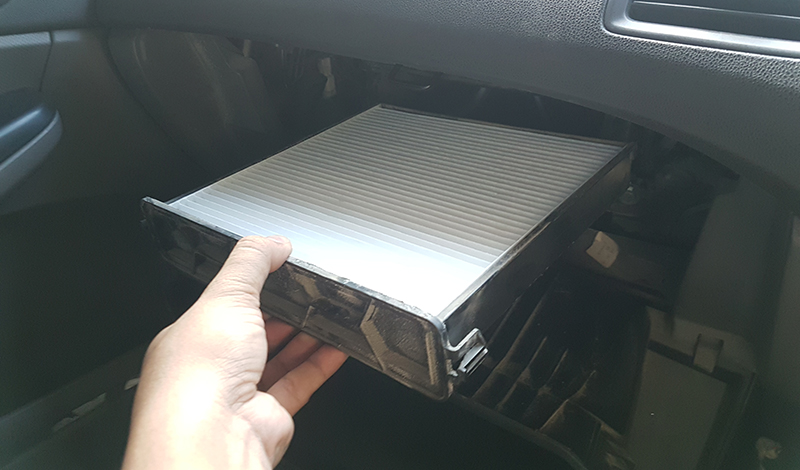
To remove the filter, slide the filter housing out of the filter compartment and remove the old cabin air filter.
When you’re removing the filter, you’ll notice small arrows indicated on the filter and the filter housing. Filters are made to filter air coming from one direction, so these arrows indicate the direction of the airflow. Make note of the direction of the arrows; you’ll need this information for the next step.
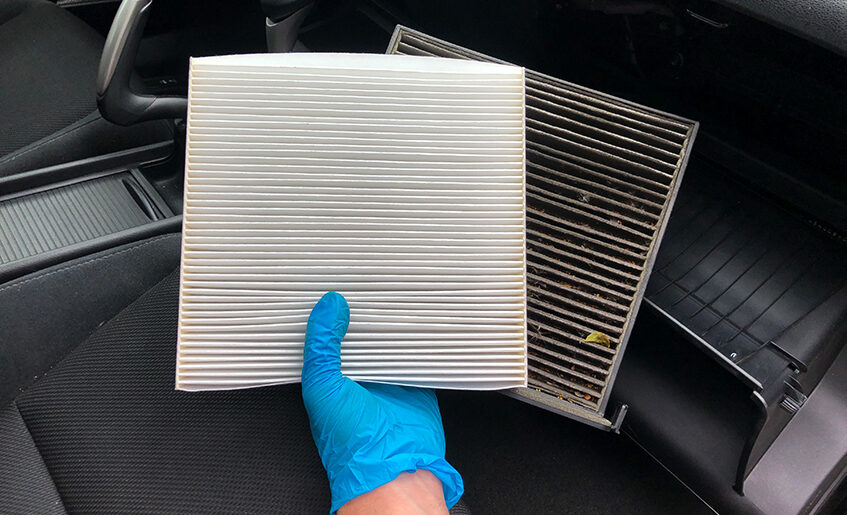
Step 4: Install the new cabin air filter
Remove your replacement cabin air filter from its case and put it in. (If your vehicle has two cabin air filters, replace both of them at the same time.)
To guarantee proper installation, pay attention to the airflow, which is indicated by the small arrows mentioned earlier. Simply install the new cabin air filter with the arrows pointing in the same direction as the old ones.
Step 5: Reassemble the glove box
Reinstall your glove box by reversing the steps you used to remove it.
BREATHE SAFELY
You’ve finished changing your air filter. Now that your vehicle has a new cabin air filter, you can drive knowing that the air you’re breathing is clean and dust-free.
Meanwhile, since you’re already performing maintenance on your vehicle, you should also consider replacing your engine oil and filter or checking your brakes to keep your car running efficiently.